


How to Replace Torn Car Upholstery Properly
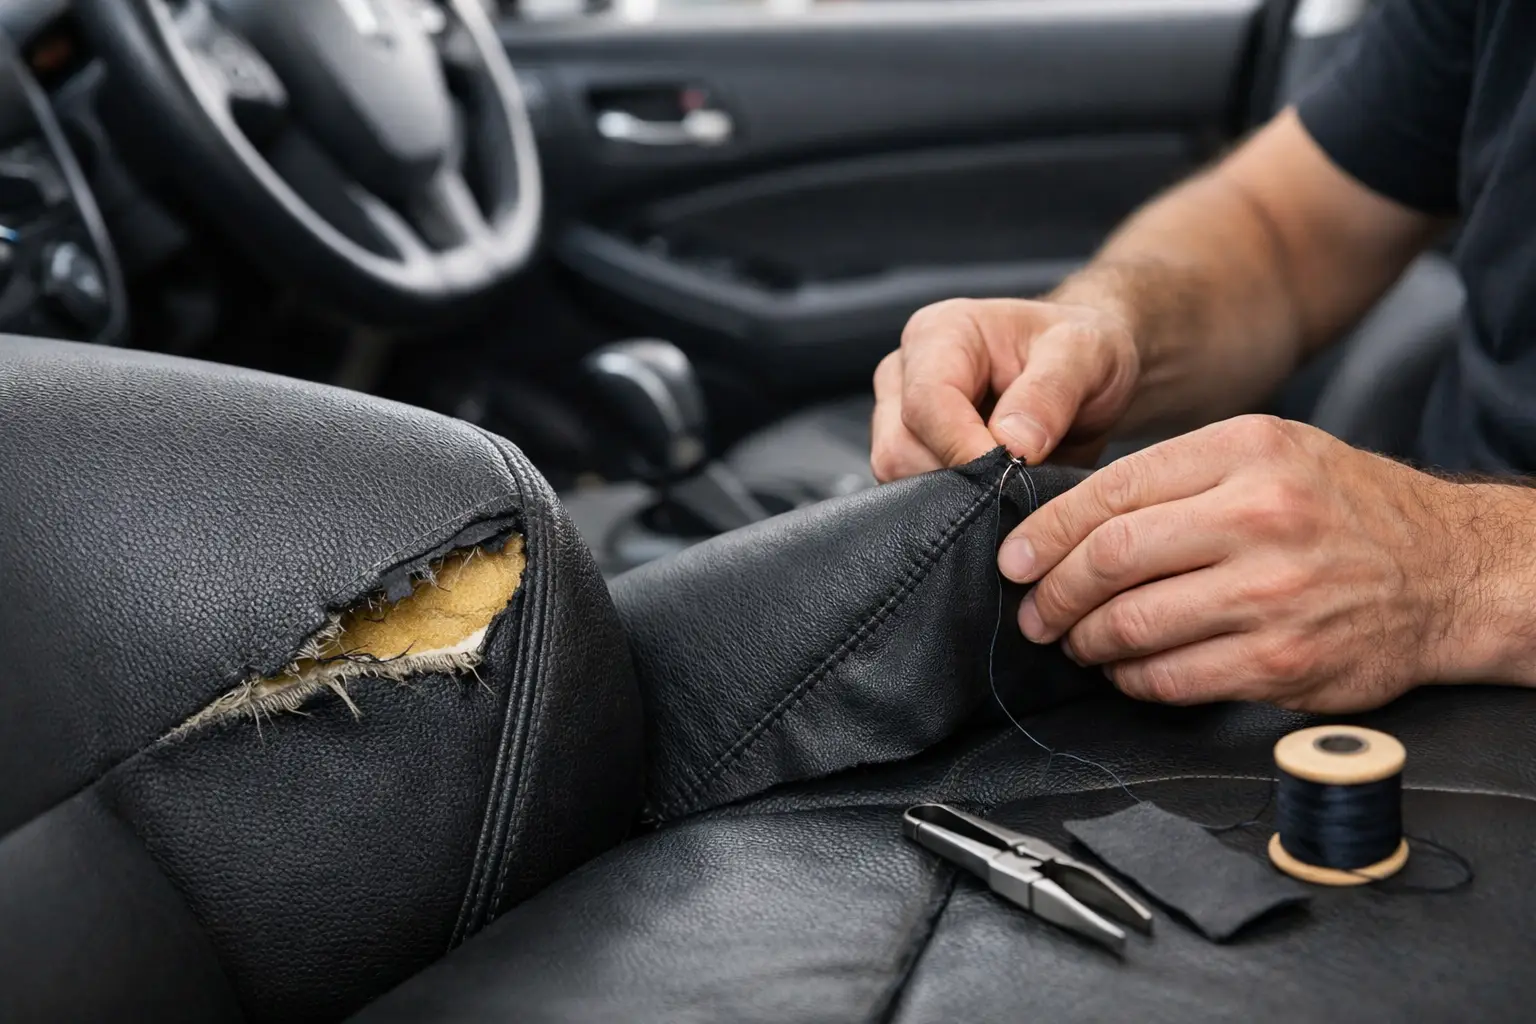
A small tear in a seat bolster can quickly become a split seam, exposed foam and an interior that feels neglected every time you open the door. Knowing how to replace torn car upholstery starts with one disciplined decision: establish whether the damaged section can be repaired properly, or whether replacement is the honest long-term answer. The right choice protects your comfort, the appearance of the cabin and, for many vehicles, its resale value.
How to replace torn car upholstery: repair or renew?
Not every tear requires a complete seat retrim. A clean, short split along a seam may be repairable if the surrounding material remains supple, the backing is intact and the foam beneath has not deteriorated. A skilled repair can reinforce the affected area from behind, restitch the seam and retain the original upholstery where that is still sensible.
Replacement becomes the better route when the material has hardened, cracked or thinned across a wider area. This is common on the outer bolster of the driver’s seat, where repeated entry and exit put pressure on the same point. If a vinyl surface is peeling, leather has become brittle, fabric is fraying around several seams or the cushion foam is collapsing, stitching the visible tear alone is likely to be a temporary fix.
There is also a middle ground. Rather than replacing every upholstered panel, an experienced trimmer may replace the damaged centre panel, bolster or base section and blend it carefully with the remaining material. This can preserve more of the original interior while addressing the source of the damage. Whether a partial replacement will look correct depends on colour match, grain, fading and the availability of compatible material.
Inspect the damage before choosing materials
Begin with a close inspection in good natural light. Look beyond the tear itself. Check for cracks, faded patches, loose stitching, abrasion around seat controls and damage to piping or welting. Press the cushion gently to assess whether the foam still supports your weight evenly. Torn upholstery often reveals a problem underneath, and fitting new material over weakened foam rarely produces a satisfying result.
Material identification matters. Leather, synthetic leather, vinyl, cloth and Alcantara-style trims each need different handling, adhesives, stitch settings and cleaning methods. Even two materials that appear similar can behave very differently under heat and tension. A replacement panel that is too thin can wrinkle; one that is too thick can pull at the seams and alter the seat’s shape.
For older, premium or restoration-worthy cars, matching the original grain and panel layout is particularly important. The goal should not simply be to cover damage. It should be to rebuild the seat so it looks appropriate to the vehicle and remains comfortable in daily use.
Singapore’s heat and humidity also deserve consideration. Inferior synthetic materials can harden, peel or become sticky sooner than expected. Quality automotive-grade upholstery is designed to tolerate regular temperature changes, moisture and UV exposure, but it still needs correct installation and care.
Removing the seat safely and correctly
Replacing upholstery properly usually requires the seat to be removed from the vehicle. This provides access to the underside of the cushion, retaining clips, hog rings and hidden fasteners that cannot be reached safely with the seat in place.
Modern seats, however, are not simple furniture. They may contain side airbags, occupancy sensors, seat-belt pretensioner connections, lumbar mechanisms, heating elements and electrical adjustment motors. Disconnecting or reconnecting these components incorrectly can trigger warning lights, affect safety systems or damage wiring.
For that reason, battery isolation and manufacturer-aware handling are essential. A specialist workshop will document electrical connections, protect the surrounding trim, remove the seat without scraping door sills or consoles, and check the system carefully once reassembled. On vehicles with integrated airbags or complex electronic modules, this is not a sensible area for guesswork.
Stripping the damaged upholstery
Once the seat is on the workbench, the existing cover is removed methodically. The trim must be released from its anchor points without damaging reusable plastic retainers, listing wires or the foam frame. These hidden elements control how the material sits across the cushion. If they are bent, cut or fitted back under tension, the finished seat can look loose or uneven.
The removed cover becomes an important reference. A proper replacement follows the original panel shapes, seam allowances, stitch lines and attachment positions. Simply laying a new piece of material over the old cover and cutting around it may introduce errors, especially where contours, head restraints and bolsters are involved.
This stage also exposes issues that are not visible from above. The foam may need rebuilding, seat springs may require attention, or broken clips may need replacement. Addressing these items before the new trim goes on is more efficient than reopening the seat later.
Foam repairs should happen before retrimming
Foam is the structure beneath the upholstery. When it has worn down on a bolster, the driver sits closer to the frame and the cover is stretched over an unnatural edge. That pressure is often why the original material tore in the first place.
A workshop can reshape or replace damaged foam sections to restore the seat profile. The repair must be firm enough to hold its form, yet shaped to match the original contour. Overfilling a bolster can make the seat look impressive initially but may affect comfort and place unnecessary strain on the new upholstery.
Cutting and sewing replacement panels
New upholstery should be cut from material that has been inspected for colour consistency, grain direction and surface quality. On leather, panel placement matters because natural hides vary. On patterned cloth, the weave needs to align across adjoining panels. These details separate a tidy repair from a result that appears patched together.
Seams should be sewn with suitable automotive thread and the correct stitch length for the material. Where the original seat uses piping, perforated inserts, contrast stitching or French seams, these features need to be recreated accurately. They are not merely decorative. They influence the way the cover folds, stretches and sits around the foam.
Colour matching can be the most difficult part of a partial replacement. Existing upholstery changes over time through sunlight, cleaning products and use. A new panel may be technically correct but appear brighter than the surrounding seat. In some cases, replacing matching sections on both front seats produces a more balanced result than fitting one isolated panel. The right scope depends on the vehicle’s condition, budget and how closely you want to retain the factory appearance.
Fitting the new upholstery without wrinkles
During refitting, the cover is drawn over the foam gradually and secured at the original anchor points. Tension must be even. Too little tension creates ripples and loose areas; too much can distort seams, stress the material and prevent the seat from operating as designed.
Heat may be used carefully to help certain materials settle, but excessive heat can damage synthetic surfaces or alter adhesive performance. The finished cover should follow the cushion contours naturally, with straight seams, consistent piping and no trapped folds near moving parts.
Before the seat returns to the car, the workshop should test recline, slide, height adjustment, lumbar operation and heating where fitted. After refitting, electrical functions and dashboard warning lights should be checked again. A good upholstery job is not complete because the seat looks right. It is complete when it functions correctly and safely in the vehicle.
When professional replacement is the better value
DIY kits can be useful for a very minor emergency repair on an older daily driver, particularly where appearance is not a priority. They are less suitable for torn bolsters, broken seams, perforated leather, airbag-equipped seats or any damage involving weakened foam. Adhesive patches and surface fillers can conceal a problem briefly, but they do not restore the structure of the upholstery.
Professional replacement offers more control over the material, the pattern, the underlying cushion and the final fit. At 8 Cushion, upholstery work is handled in-house, allowing the same workshop team to inspect the damage, prepare the materials, repair the seat structure and complete the fitting. That removes the uncertainty of passing critical stages between multiple parties.
Ask for a clear assessment before authorising work. A trustworthy recommendation should explain what can be retained, what needs replacing, whether an exact match is realistic and what the finished result will involve. The cheapest option is not always poor value, but a repair that fails after a few months usually costs more than doing the job properly once.
A torn seat does not have to become a full interior restoration. Give it attention while the damage is still contained, choose materials suited to the vehicle and let the condition of the foam, seams and surrounding trim determine the work required. That measured approach is what keeps an interior looking cared for rather than merely covered over.
Related posts
Best Materials for Convertible Tops
Choosing the best materials for convertible tops means balancing durability, wea
What Causes Convertible Top Leaks?
Learn what causes convertible top leaks, from worn seals to blocked drains, and
Custom Car Interior Refurbishment Done Right
Custom car interior refurbishment restores comfort, value and finish with specia