


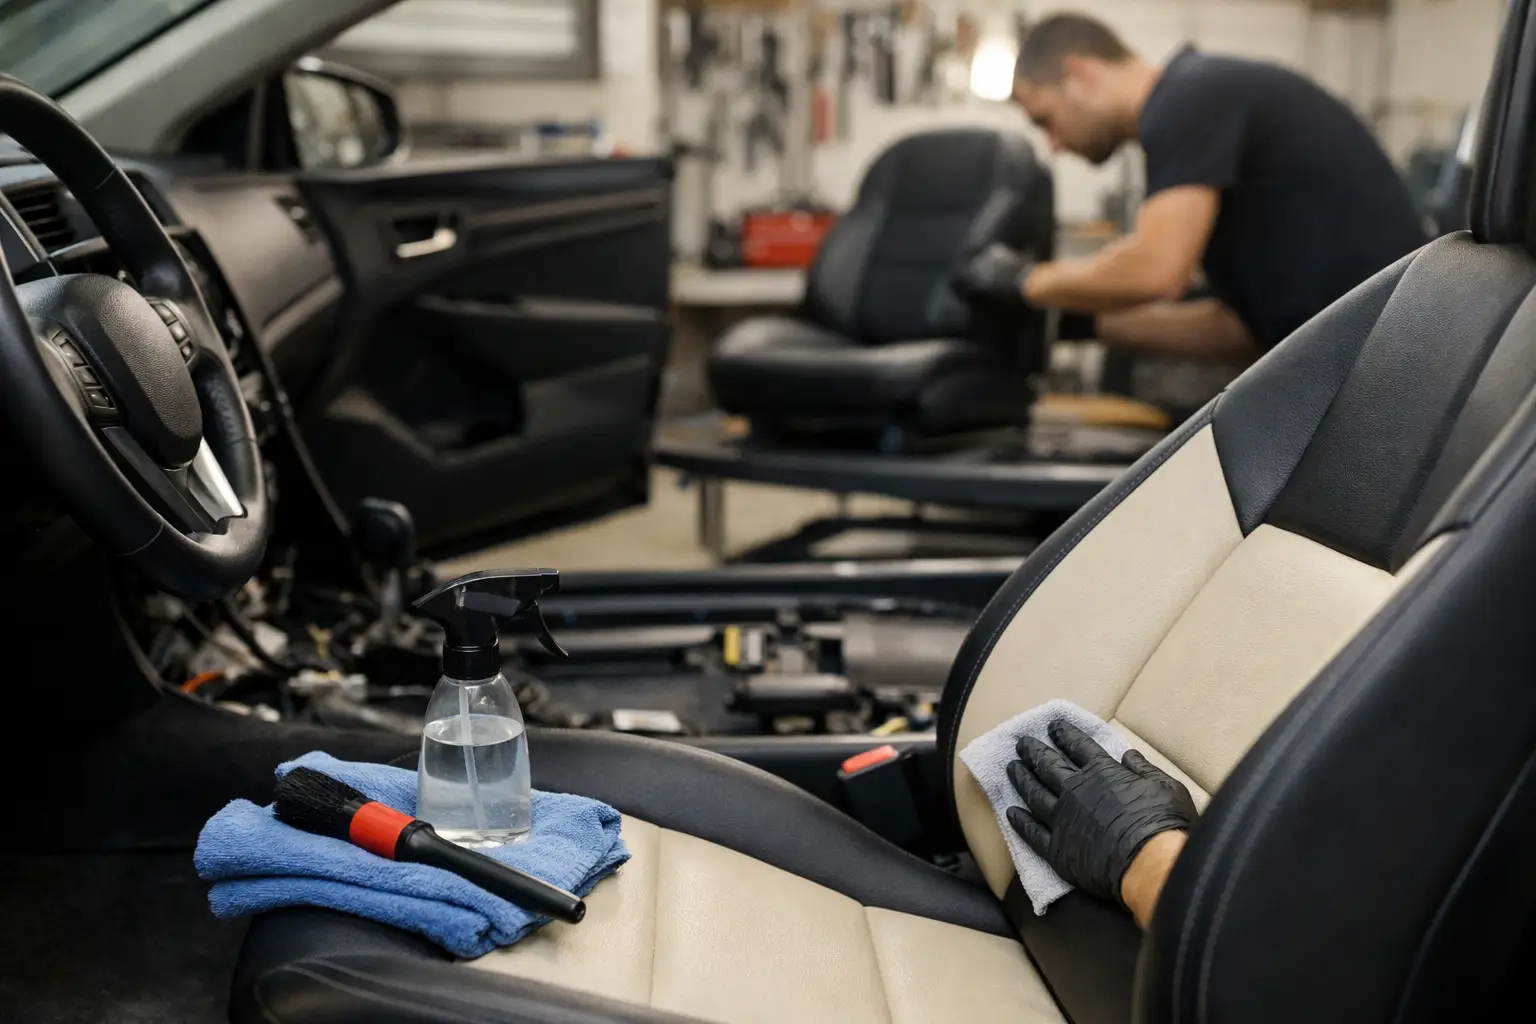
How to Prepare Your Car for Upholstery Restoration
A proper upholstery restoration does not begin when the trimmer removes a seat cover. It begins before your car enters the workshop. Knowing how to prepare car for upholstery restoration helps protect personal belongings, gives the specialist a clear working area, and reduces the risk of avoidable delays or misunderstandings.
For a daily-driven family car, a classic, or a premium convertible, preparation should be practical rather than excessive. The goal is not to diagnose the repair yourself. It is to present the vehicle honestly, document its condition, and make sure the agreed work can proceed safely and efficiently.
How to prepare your car for upholstery restoration
Start with a clear discussion of the scope
Upholstery work can range from repairing one worn bolster to rebuilding seat foams, replacing headlining fabric, retrimming door cards, or restoring an entire cabin. These jobs have very different access requirements, lead times, and material needs. Before handing over the vehicle, confirm exactly which areas are included and which are not.
Be specific about the faults you want addressed. A torn driver’s seat may be the visible problem, but you may also have sagging foam, a loose trim panel, faded stitching, or a headlining that has begun to detach around the edges. Mention all of it at the start. This allows the workshop to assess the vehicle as a complete interior rather than treating each issue as an isolated surprise.
It is also sensible to discuss the intended result. Are you seeking an original-style restoration, a practical repair for daily use, or a material upgrade? Originality can matter greatly on collector vehicles, while a commuter car may benefit more from durable materials that cope well with heat, humidity, frequent entry and child seats. The right approach depends on the vehicle, its condition, and how it is used.
Remove personal items and loose accessories
Clear the cabin, boot and door pockets before your appointment. Take out cash cards, documents, parking tags, sunglasses, charging cables, umbrellas, child-seat accessories, loose tools and any items stored beneath the seats. Do not forget the glovebox, centre console and seat-back pockets.
This is not simply about tidiness. Upholstery restoration often requires seats, trim pieces, carpets or roof linings to be removed. Loose items can be misplaced, damaged, or obstruct access to fixings and electrical connectors. A cleared car also makes it easier for the technicians to inspect the interior properly and keep the work area controlled.
If you use a dash camera, GPS tracker, aftermarket alarm, amplifier or other accessory, advise the workshop before work begins. Some installations have wiring routed beneath seats, through pillars or behind trim. Knowing this in advance helps the team remove and refit components with appropriate care.
Clean enough to reveal the real condition
Your car does not need to be professionally detailed before restoration. In fact, heavy cleaning can sometimes hide stains, dye transfer, water marks or material deterioration that should be assessed. However, remove rubbish, shake out loose debris, and vacuum excessive sand, pet hair or food crumbs where possible.
A reasonably clean interior makes inspection more accurate. It can reveal whether discolouration is surface contamination or permanent damage, and whether an odour is coming from the upholstery itself, damp carpet underlay, air-conditioning issues or something left in the vehicle.
If there has been a spill, mould growth, flooding, pest activity or a persistent smoke smell, say so directly. These conditions may affect foam, underlay, wiring, adhesives and the suitability of new materials. Concealing them rarely saves time or cost. It usually means the underlying cause is discovered later, after dismantling has already begun.
Photograph the vehicle before handover
Take clear photographs of the seats, door trims, dashboard, centre console, roof lining, carpets, boot area and exterior panels near the work zones. Include close-ups of existing scratches, cracks, stains and wear. A short walk-around video is useful too, especially for older cars with known cosmetic defects.
This is a sensible record for both owner and workshop. Restoration work can involve moving seats through door openings, handling delicate trim and accessing areas that may not have been touched for years. Good pre-work documentation encourages clarity from the beginning and gives everyone a shared reference point.
For convertible owners, photograph the soft top, rear screen, seals and surrounding paintwork. If the work involves a roof lining or convertible-top mechanism, note whether the roof currently opens and closes correctly, and whether any warning lights or unusual noises are present.
Make the vehicle safe and accessible
Ensure the car can be driven, unlocked and started as needed. Bring all relevant keys, including wheel-lock keys if exterior access may be required. Disable valet mode where it restricts access to the boot or glovebox, and tell the workshop about any immobiliser procedure, battery isolation switch or unusual starting sequence.
If your vehicle has an electrical fault, weak battery, warning light or seat adjustment problem, mention it. Modern seats often contain airbags, occupancy sensors, memory modules, heating elements and electric adjustment motors. These features do not prevent upholstery work, but they need to be handled in the right order and with the correct precautions.
Avoid leaving the fuel level extremely low if the car may need to be moved during the job. There is no need to arrive with a full tank, but the vehicle should be usable without creating unnecessary inconvenience.
Keep the restoration period realistic
Fine upholstery work is not always a same-day repair. A straightforward local repair may be completed quickly, but a full retrim, headlining replacement, foam reconstruction or convertible-top project can involve dismantling, pattern work, material preparation, fitting, curing and quality checks.
Older vehicles may reveal hidden issues once trim is removed. Brittle clips, corroded fixings, damaged foam, previous repairs, water ingress or deteriorated backing boards can all change the required work. This is especially common in cars that have spent years in Singapore’s heat and humidity.
Ask how the workshop handles findings outside the original scope. A disciplined specialist should explain the issue, show the evidence where practical, outline the available options and seek approval before proceeding with additional chargeable work. This is where transparent, in-house workmanship matters: the people assessing the problem are directly connected to the people carrying out the repair.
Agree on materials and expectations before fitting
Material choice should never be reduced to colour alone. Leather, synthetic leather, fabric, Alcantara-style materials and vinyl all have different characteristics in appearance, grip, heat retention, cleaning requirements and long-term wear. A material that looks excellent in a sample book may not be the most suitable choice for a frequently parked outdoor car or a high-use driver’s seat.
If colour matching is required, accept that aged interiors seldom match a new material perfectly. Sun exposure, cleaning products and years of use alter colour and sheen. A skilled workshop can advise whether a local repair will blend acceptably, whether a paired panel should be retrimmed for balance, or whether a wider restoration is the better long-term choice.
Do not assume every crease will disappear immediately after refitting either. Some materials settle as they acclimatise and tension is distributed through normal use. Ask what is expected on collection, what may settle over time, and what aftercare is recommended.
Plan collection and aftercare
When the vehicle is ready, allow enough time for a proper handover. Inspect the completed areas in good light, test seat movement and electrical functions, and check that personal settings or accessories have been returned where applicable. If the work involved a convertible top, operate it with the workshop’s guidance before leaving.
Ask how to clean and maintain the restored surfaces. New leather, fabric and adhesives may require a short settling period, while some cleaners can damage coatings, stitching or adhesive edges. Use only the care approach recommended for the materials fitted.
At 8 Cushion, restoration work is approached as a controlled workshop process rather than a quick cosmetic cover-up. The best result comes from clear communication, suitable materials and enough time for the work to be done properly.
A prepared vehicle gives the craftsman room to focus on the details that matter: accurate fitment, clean finishing, dependable refitting and an interior that feels right every time you get behind the wheel.
Related posts
How to Maintain Convertible Soft Top Properly
Learn how to maintain convertible soft top fabric, seals and rear windows proper
How to Fix Peeling Car Upholstery Properly
Learn how to fix peeling car upholstery properly, when a DIY repair is enough, a

Restoration Versus Replacement Upholstery
Restoration versus replacement upholstery - learn when to repair, retrim or repl