How to Fix Sagging Car Headliner Properly
A sagging headliner rarely starts as a dramatic collapse. More often, it begins with a small bubble near the rear edge, a loose patch above the passenger seat, or fabric that feels soft and detached when you press it. If you are searching for how to fix sagging car headliner problems, the real question is not just how to stick it back up. It is how to restore it in a way that lasts, looks correct, and does not create a bigger trim problem a few weeks later.
In most cases, the fabric has not simply come loose. The foam backing between the cloth and the headliner board has broken down with age, heat, humidity, and contamination. That matters because once the foam turns to dust, fresh glue sprayed from below will not bond the cloth properly to the board. It may hold for a short while, but it is rarely a proper repair.
What causes a car headliner to sag
A vehicle headliner is a layered trim component. You have the backing board, a thin foam layer, and the visible fabric face. Over time, the foam degrades. In Singapore’s heat, that process tends to accelerate, especially in vehicles parked outdoors or exposed to repeated thermal cycling.
Age is the most common factor, but it is not the only one. Moisture intrusion from door seals, sunroof drains, or windscreen leaks can damage the adhesive bond and the board itself. Interior cleaning chemicals can also affect the fabric. On older or premium vehicles, previous repair attempts often make matters worse. Pins, staples, hand-applied glue, and injected adhesive can distort the cloth, stain it, or warp the board beneath.
That is why a sagging headliner should be assessed properly before any work begins. A neat-looking result depends on the condition of the board, the foam, the fabric shape around handles and lights, and whether there are underlying leaks to address.
How to fix sagging car headliner – what actually works
There are quick fixes, temporary fixes, and proper trim repairs. They are not the same thing.
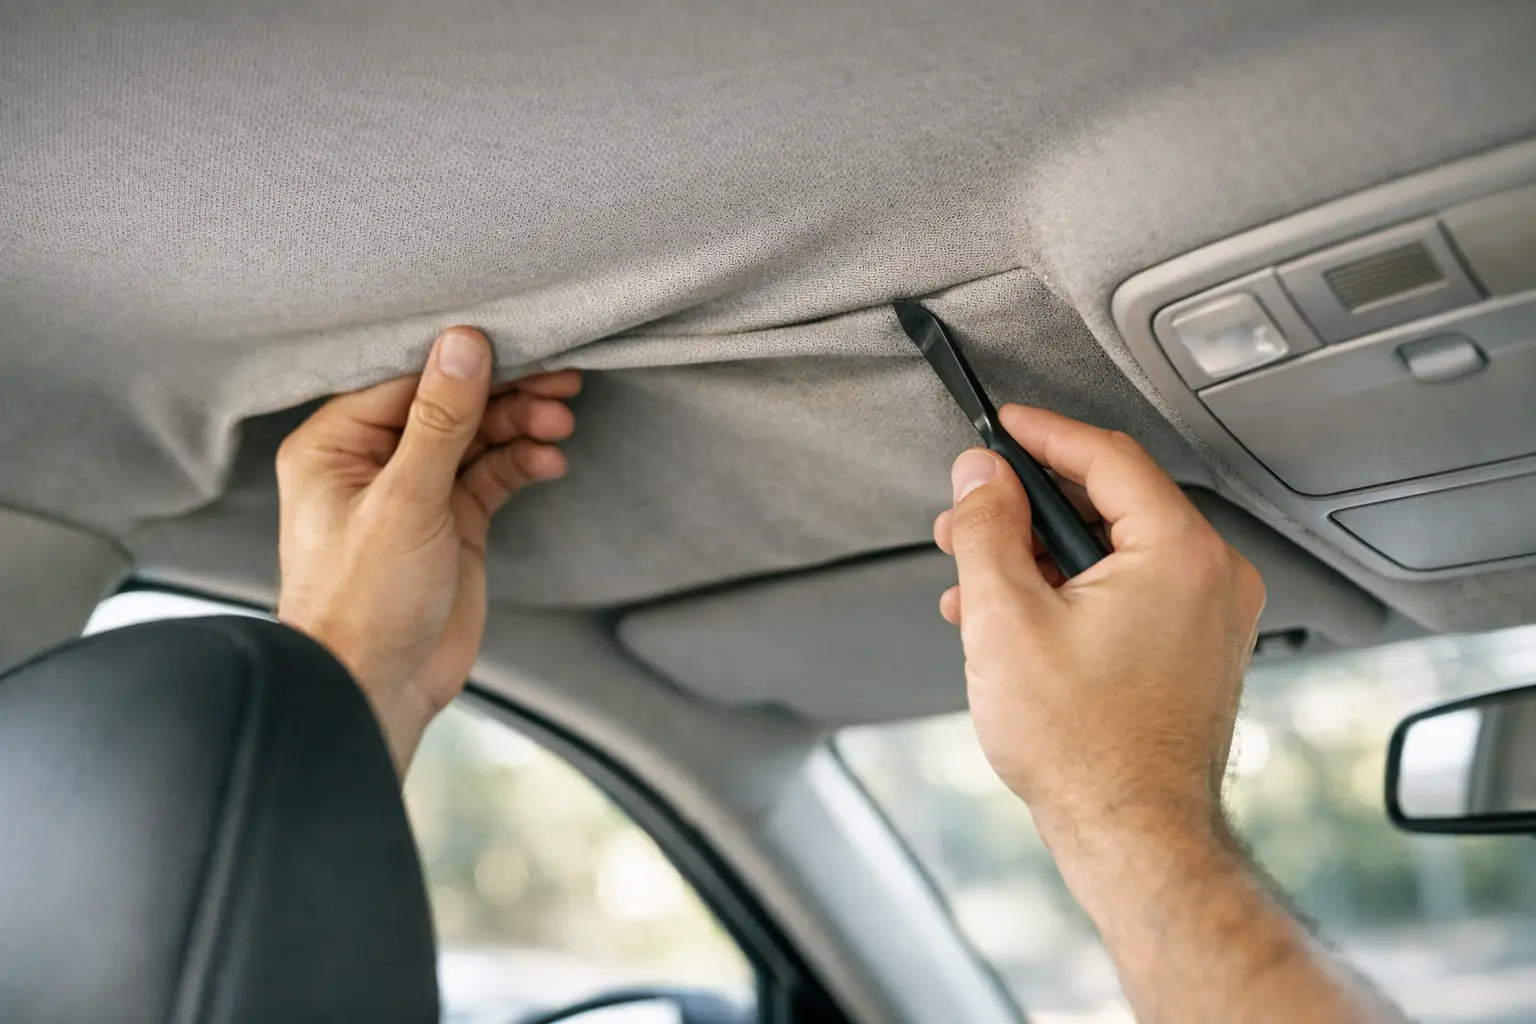
If the vehicle is older, the damage is minor, and appearance is not a major concern, a temporary measure may buy some time. Headliner pins or twist pins can hold a small loose area up. This is usually a stopgap, not a restoration. You will still see the sag, and the fabric often continues to loosen around the pinned section.
Spray adhesive from the cabin is another common attempt. This is where many owners lose a recoverable headliner. Once adhesive soaks through the cloth face, it can leave dark patches, hard spots, or uneven texture. Even when the fabric sticks for a short period, the degraded foam beneath it is still failing. The repair looks acceptable at first glance, then starts to drop again.
The proper method is usually to remove the headliner board, strip off the failed fabric and foam, prepare the substrate, and retrim the board with the correct automotive headlining material. This is the method that gives a clean finish and a dependable bond. It also allows the workshop to inspect the roof lining board for cracks, distortion, or water damage before the new material goes on.
When a DIY repair may be enough
There are cases where a DIY approach is reasonable. If you have a small edge lifting near a trim piece, and the rest of the lining remains firm, a careful local repair might hold. The key word is might. Success depends on whether the foam under that section is still structurally sound.
A tidy DIY repair requires patience, very light handling, and the right adhesive for automotive trim. Too much glue, too much pressure, or poor alignment will show immediately once the material dries. Vehicles with complex overhead consoles, curtain airbags, sunroofs, or delicate trim clips are less forgiving. Removal damage can quickly turn a simple cosmetic issue into a more expensive rectification job.
For a daily-use vehicle where you simply want to slow the problem down, a small local measure can be acceptable. For a vehicle you care about keeping presentable, or one with resale value, a full retrim is usually the more sensible decision.
Why full replacement is often the better answer
A headliner is one of the largest visual surfaces in the cabin. If it is wrinkled, stained, misaligned, or loose around the edges, the entire interior feels tired. A proper replacement does more than solve the sag. It restores the finish, fit, and overall impression of the vehicle.
This is especially relevant for executive cars, coupes, MPVs, classic vehicles, and anything with a premium interior. On these cars, fabric choice, foam thickness, colour match, and edge finishing all matter. The wrong material can look flat, cheap, or visibly different from the original trim. The wrong adhesive can fail early, particularly in hot conditions.
A specialist workshop will also know when the issue is not just the fabric. Some boards become brittle with age. Some have broken corners near clip points. Some have absorbed moisture and changed shape. If you only focus on sticking the cloth up, you miss the real reason the lining failed.
Signs you need a specialist rather than a quick fix
If the sagging is widespread, if the cloth feels powdery behind the surface, or if the lining has dropped near multiple openings, a quick repair is unlikely to last. The same goes for vehicles with sunroof apertures, integrated modules, or pillar trims that need careful removal.
You should also be cautious if there are signs of water ingress. A new headliner fitted over an unresolved leak is not a finished job. The source of moisture needs to be identified first, whether that is a seal issue, blocked drain, or windscreen-related fault.
Customers often come in after trying aerosol glue, fabric pins, or double-sided tape. At that stage, the work can become more involved because the old residue must be cleaned off properly and the face fabric may already be marked. A disciplined process matters here. Good preparation is what separates a headliner that sits correctly from one that starts peeling around the edges after the first hot week.
What a proper workshop process should include
A reliable headliner repair is not only about installation. It starts with accurate assessment and careful removal. Interior trims, handles, visors, lights, seals, and pillar sections have to come off methodically to avoid clip damage and stress marks.
Once the board is out, the old material should be stripped completely. Failed foam must be removed from the substrate so the new adhesive bonds to a clean surface. If the board is cracked, warped, or weak, it should be repaired or stabilised before retrimming. Only then should the new material be applied, aligned, and finished around edges and cut-outs.
This is why in-house work matters. Headliner retrimming depends on handling discipline as much as material choice. Storage conditions, adhesive selection, curing time, and clean trimming standards all affect the result. A rushed job may look acceptable on collection day but show edge lift, print-through, or uneven tension later.
For owners who want peace of mind from the very beginning, that workshop process is often the difference between paying once and paying twice.
Cost, longevity, and what is worth paying for
The cheapest fix is rarely the best value. Temporary repairs can be suitable for a short-term vehicle or a car nearing the end of its life, but they usually do not restore the cabin properly. If appearance, durability, or ownership pride matters, paying for a correct retrim tends to make more sense.
Longevity depends on the quality of the headlining material, the adhesive system, and the condition of the board underneath. It also depends on vehicle use. Cars parked under shelter generally fare better than those left in open sun every day. Even so, a properly retrimmed headliner should give a far better service life than a patch repair.
If your vehicle is a keeper, or if you are restoring its interior to a standard that matches the rest of the car, this is not the place to cut corners. A specialist trim workshop such as 8 Cushion approaches roof lining work as a finishing trade, not a casual glue job. That difference shows in the result.
The sensible way to decide
If the headliner is only just beginning to loosen and the vehicle is not a long-term concern, a limited repair may be enough for now. If the fabric is sagging across a wider area, if there are signs of foam failure, or if you want the interior to look right again, replacement is usually the proper route.
The best repairs are honest about trade-offs. Not every car needs a full restoration-grade approach, but many owners are disappointed because they were sold a shortcut as if it were a permanent answer. When the roof lining fails, the neatest solution is usually the one that deals with the whole assembly properly, not just the symptom.
A good headliner should disappear into the cabin and look as though nothing was ever wrong. That is usually the clearest sign the job was done properly.
Related posts
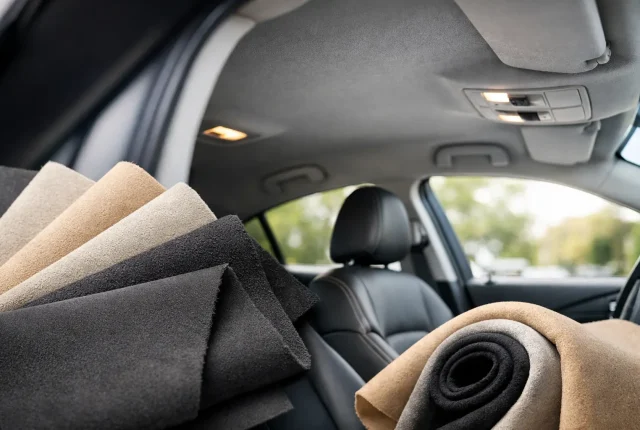
Best Car Headliner Fabric Options Explained
Compare the best car headliner fabric options for heat, durability, fit and fini
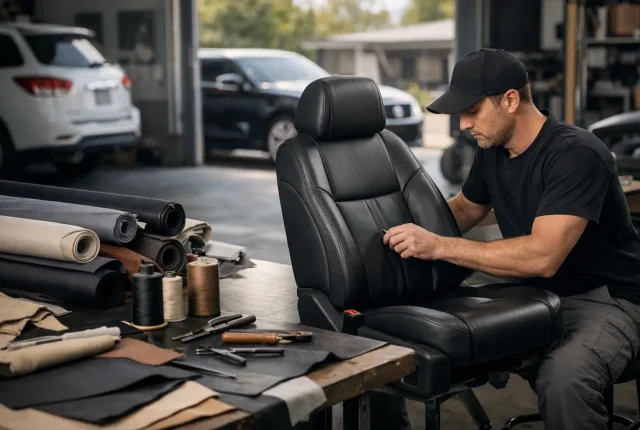
Best Vehicle Upholstery Repair Near Me
Looking for the best vehicle upholstery repair near me? Learn how to choose a sp
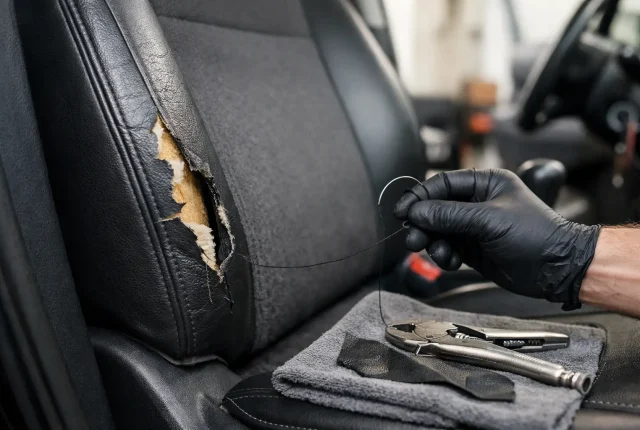
Can Torn Car Seats Be Repaired?
Can torn car seats be repaired? Yes - depending on the damage, material, and pan