


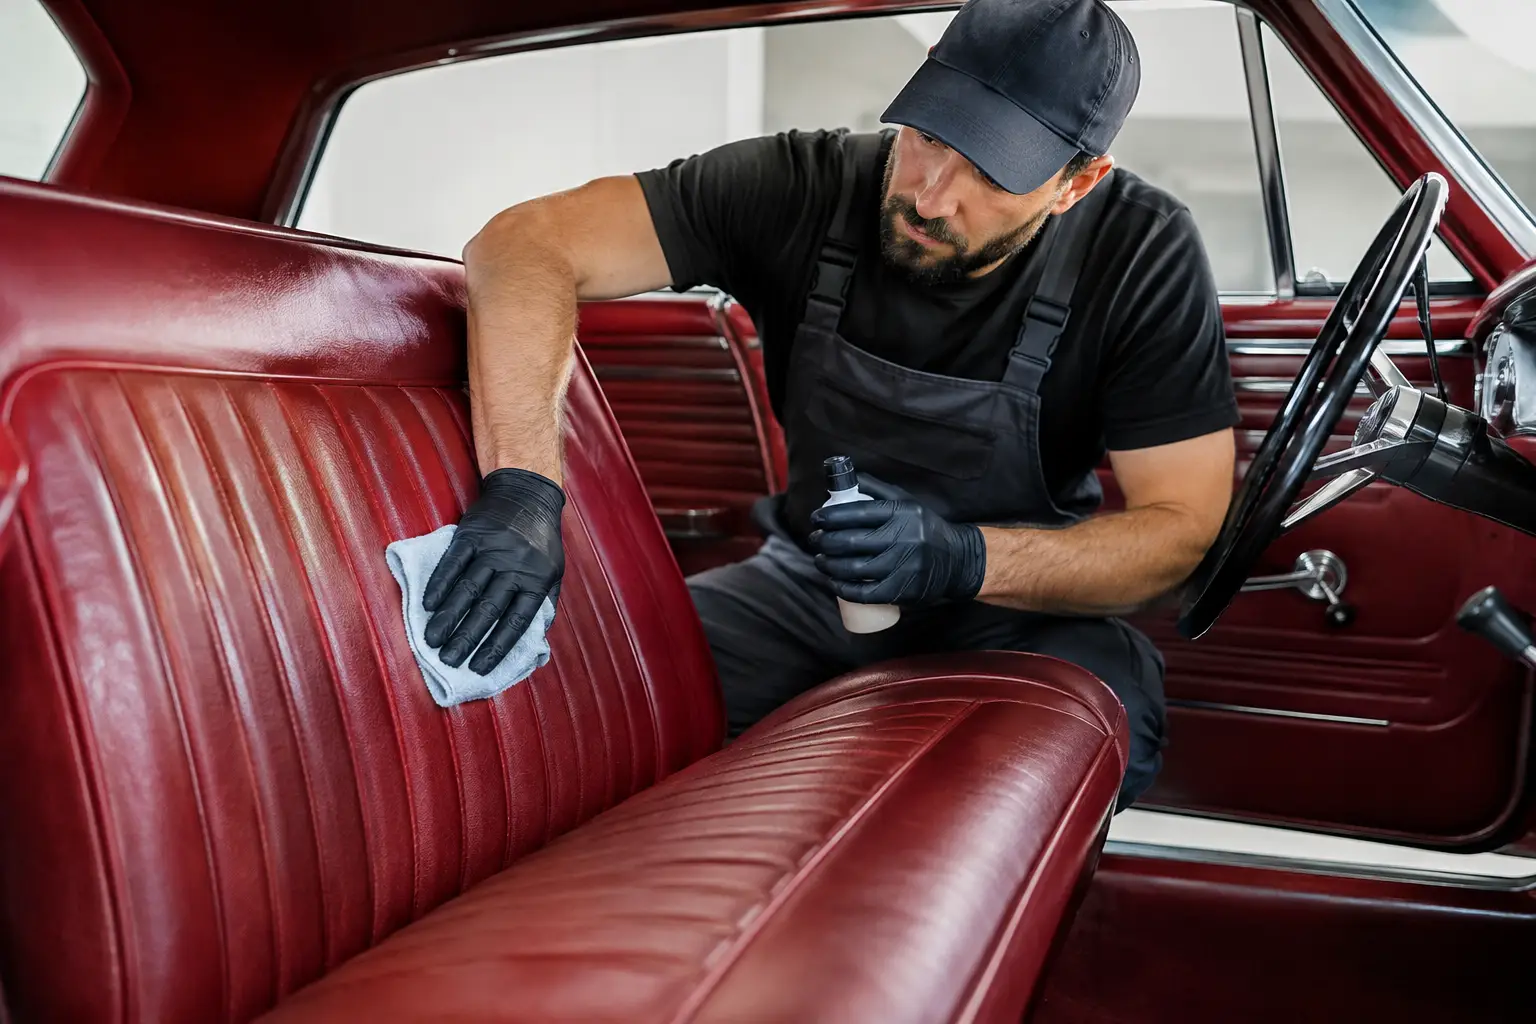
Classic Car Upholstery Restoration Example
A classic car upholstery restoration example is rarely about making an old cabin look new. The better result is a cabin that looks correct, feels properly finished and remains suited to the way the car is used. That calls for more than fitting new seat covers. It requires a measured inspection of the vehicle, honest advice on what can be preserved and disciplined in-house workmanship from removal to refitting.
Consider a well-kept 1980s convertible arriving at the workshop with tired leather front seats, flattened cushions, cracked door trims and a rear bench faded by years of sunlight. The owner still enjoys weekend drives, so originality matters, but so does comfort. The roof is serviceable and the dashboard has survived well. The interior, however, makes the whole car feel neglected.
This is where restoration should begin: not with a material catalogue, but with the actual condition of every component.
Classic Car Upholstery Restoration Example: The First Inspection
Before any trim is removed, the seats, panels, carpets and surrounding fittings need to be assessed as one system. Wear on the driver’s bolster may be obvious, but the underlying foam, webbing and seat frame determine whether new upholstery will sit correctly. A fresh cover over collapsed cushioning can look acceptable on collection day, then crease, sag or lose shape within months.
In this example, the driver’s seat has split along a high-contact seam. The passenger seat is still intact but dry and discoloured. Both front cushions have softened, while the rear seat is structurally sound. The door cards are warped at their lower edges after repeated exposure to moisture, and several clips have become brittle.
The practical recommendation is not necessarily to replace every item. The rear seat may be restored and recoloured if the leather remains supple enough. The front seats may need new leather sections, renewed foam shaping and repaired support layers. Door cards may require new backing boards while retaining original trim details where possible.
This approach protects the car’s character and controls unnecessary cost. It also avoids a common mistake: replacing parts simply because they are old, rather than because they can no longer perform their function or meet the required finish.
Choosing Materials That Belong in the Car
Material selection is where many classic interiors lose their authenticity. Modern automotive leather, vinyl and foam products can be highly durable, but they do not all look or behave like period-correct materials. Grain pattern, sheen, thickness, stitching thread and piping profile all affect the finished cabin.
For this convertible, the original interior used leather with a restrained grain and a low-gloss appearance. Selecting an overly shiny leather would immediately make the seats look out of place. Choosing material that is too thick may alter the seat contours and make the covers difficult to tension correctly. Material that is too thin may wear prematurely, particularly on the driver’s outer bolster.
Colour is equally important. Faded original trim should not be used as the only reference, especially in a car that has spent years under strong sunlight. A specialist may compare protected areas beneath seat edges, behind trim panels or under the rear cushion to establish the closer original tone. The aim is not to create a colour that merely looks attractive under workshop lighting. It is to achieve a finish that suits the car in natural daylight.
There is also a useful trade-off to discuss with the owner. A strict concours restoration may call for materials and details that closely replicate the original specification, even when they are less forgiving in daily use. A regularly driven classic may benefit from carefully selected modern backing materials or improved foam, provided the visible result remains faithful to the vehicle. The right choice depends on the owner’s priorities, not a one-size-fits-all package.
Stripping Down Without Creating New Problems
Careful removal is part of the restoration, not a preliminary task to rush through. Older cars often have hidden fasteners, fragile plastic trims, aged wiring and mechanisms that are no longer easily replaced. Damage caused during dismantling can turn a straightforward upholstery project into a far more complicated repair.
The seats in this example are removed and documented before covers are separated from the frames. Original seam lines, listing wires, hog rings and attachment points are recorded. These details guide the rebuilding process and help ensure the finished covers follow the factory shape rather than a generic pattern.
Once stripped, the seat frames are checked for corrosion, fatigue and loose joints. Springs and webbing are inspected under load. Foam is assessed for crumbling, permanent compression and distorted edges. This is the stage where the true scope becomes clear. A seat can appear to need only leather repair, yet require internal rebuilding to sit evenly and provide proper support.
At 8 Cushion, keeping core restoration work in-house gives the workshop direct control over these decisions. The team handling the material and construction can inspect the frame condition and adjust the work scope before a problem is concealed beneath fresh upholstery. That means clearer accountability and fewer surprises caused by work passing through multiple parties.
Rebuilding Comfort Before Finishing the Surface
A classic seat should retain its intended character. It should not feel like a modern seat forced into an older car. That said, aged foam and stretched support layers can leave the driver sitting too low, leaning to one side or feeling the frame beneath the cushion.
For the front seats in this restoration, damaged foam sections are rebuilt to restore the original shoulder and bolster lines. Support layers are renewed where necessary, while sound original components are retained. The objective is a firm, even foundation that allows the leather to sit naturally.
This groundwork matters because upholstery follows whatever lies beneath it. If the foam is uneven, the seams will wander and the panels will appear loose. If the cushion is too aggressively reshaped, the seat may lose the profile that makes the car recognisable. Good restoration is controlled correction, not over-restoration.
The door cards receive the same attention. New backing boards are cut and formed where the original boards have warped beyond recovery. Moisture protection is considered before the trim is refitted, particularly in a convertible that may experience humidity, sudden rain and regular temperature changes. Reusing trim panels without addressing the cause of distortion only postpones the next repair.
Sewing, Fitting and Checking the Details
New upholstery is patterned from the original covers where their shape remains reliable. Panels are cut with allowance for the material’s stretch and the seat’s contours. Seams are positioned accurately, piping is matched in diameter and thread colour is chosen to suit the period finish.
The covers are then fitted progressively, tensioned in stages and checked from every angle. This is not a job where speed improves results. Leather must settle correctly around corners and bolsters, while seams need to remain straight under normal seating pressure. Where a cover pulls too tightly or sits unevenly, the cause must be corrected rather than hidden.
Small details make a major difference in an older cabin. The placement of a seam near a headrest opening, the firmness of a door pull, the alignment of a rear-seat panel and the neatness around seat controls all influence whether the car feels carefully restored. These are also the areas most likely to reveal shortcuts.
Before handover, the interior should be inspected with the seats installed, not just on a workbench. Seat runners must operate correctly, belt fittings must be accessible, reclining mechanisms must work and adjacent trims must meet cleanly. The cabin should look coherent as a whole, with no new material fighting against the dashboard, carpet, roof lining or original fittings that remain.
What This Restoration Protects
The visible improvement is clear: the car regains a composed, inviting interior that matches its exterior condition. Yet the value of the work goes further. Correct seat support improves driving comfort. Properly secured door trims reduce rattles. Suitable materials stand up better to heat and regular use. A documented, well-executed interior restoration can also give a future buyer confidence that the car has been cared for rather than cosmetically refreshed.
Not every classic requires a full retrim. A single bolster repair, a foam rebuild or restoration of original leather may be the more responsible choice. But when wear has affected the structure, fit and appearance of the cabin, treating the job as a complete upholstery system delivers a result that lasts.
If your classic car’s interior is beginning to distract from the pleasure of owning it, start with a proper assessment. The best restoration plan is the one that respects what is worth saving, replaces what has genuinely failed and leaves you with a car you will want to keep driving.
Related posts
Windscreen Chip Repair Methods That Protect Glass
Understand windscreen chip repair methods, when resin repair is safe, and when r
Convertible Top Replacement Buyer Guide
Our convertible top replacement buyer guide explains materials, fit, glass, labo

Restoration Versus Replacement Upholstery
Restoration versus replacement upholstery - learn when to repair, retrim or repl