


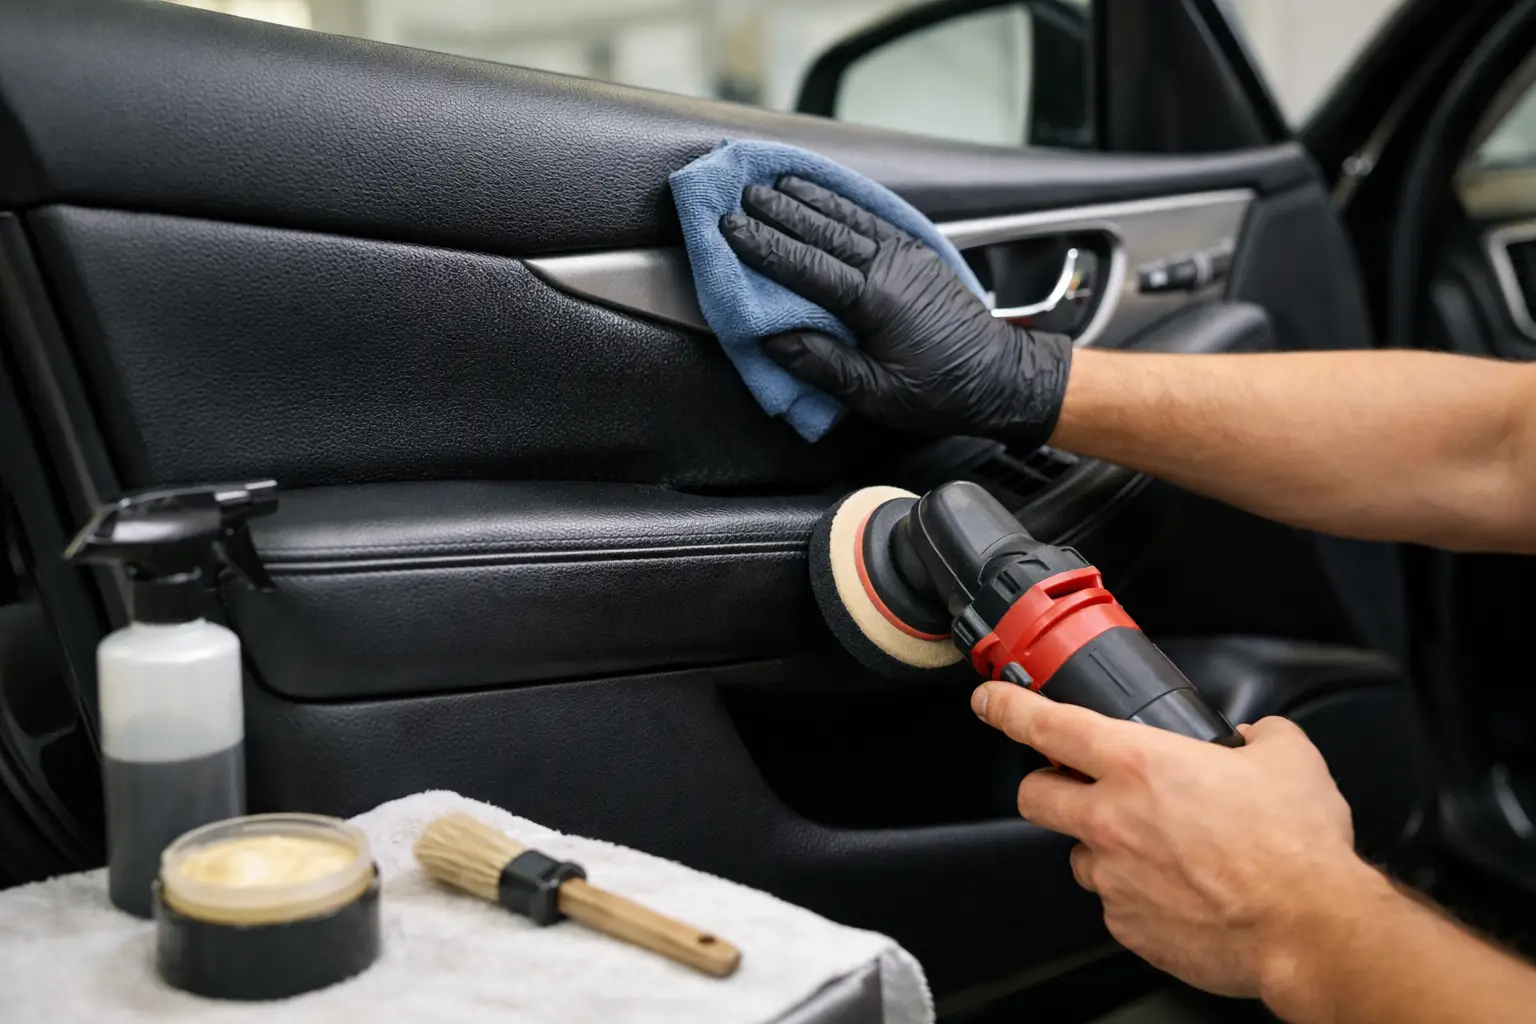
Door Panel Restoration Guide for Lasting Results
A tired door panel can make an otherwise well-kept cabin feel neglected every time the door opens. Loose fabric, lifting trim, cracked vinyl and weakened armrests are not merely cosmetic faults – they often point to aged adhesives, heat exposure or moisture entering the structure. This door panel restoration guide explains how to assess the damage properly, decide what can be repaired, and avoid the shortcuts that lead to another failure a few months later.
For premium, ageing and restoration-worthy vehicles, the aim is not simply to make the panel look newer. It is to restore a finish that suits the vehicle, feels secure in use and holds up to Singapore’s heat and humidity.
Start with a proper condition assessment
Door panels are assembled from several materials, and each can fail differently. A panel may have a moulded plastic backing, fibreboard sections, foam padding, fabric or leather trim, plastic clips, a pull handle, switch surrounds and decorative inserts. Treating every issue as an upholstery problem can conceal a structural fault underneath.
Inspect the panel with the door open in good light. Look for fabric that has detached at the upper edge, wrinkles around an armrest, brittle or broken clips, split seams, cracked trim and rattles when the panel is pressed gently. Check whether the window and lock switches work correctly before removal. It is also sensible to note existing scratches on paintwork, glass and nearby trim, particularly on older vehicles where replacement parts may be difficult to source.
Moisture deserves particular attention. Door cavities are designed to manage rainwater, but blocked drains, damaged vapour barriers or previous poor repairs can allow water into the panel backing. If fibreboard has swollen or softened, recovering it with fresh material alone will not create a lasting result. The backing needs repair or replacement before the visible trim is fitted.
Door panel restoration guide: repair, recover or replace?
The right approach depends on the panel’s condition, the availability of original parts and the standard expected of the vehicle. A small detached section of fabric on a sound panel may be recoverable. A cracked, warped or water-damaged substrate usually requires more extensive restoration. If the panel is unique to a classic or low-volume model, rebuilding selected areas can be more appropriate than chasing a replacement of uncertain condition.
Repair is suitable when the structure remains stable and the original covering is largely intact. This may involve securing a loose insert, repairing a minor split or replacing clips and retainers. It preserves more original material, but it only makes sense where the surrounding trim has sufficient life left.
Recovering is the better route when fabric, vinyl or leatherette has faded, sagged, stained or become brittle while the backing remains sound. The old covering is removed, degraded foam is cleaned away and the surface is prepared before a new material is applied. Colour, grain, thickness and stretch all matter. A close colour match with the wrong grain can look out of place, while material that is too thick may prevent trims and switch surrounds from sitting correctly.
Replacement can be the most efficient answer where a correct new or used part is available and cost-effective. However, second-hand door panels frequently carry hidden clip damage, UV fading or weakened adhesive. A cheaper panel is not always the lower-cost result once fitting and refinishing are considered.
Removal must be controlled, not forced
Most visible damage during a door-panel job occurs during removal. Screws are often concealed behind handle covers, armrest inserts, speaker grilles or switch panels. Clips may release in a specific direction, and some vehicles use cables for interior handles that can be damaged if the panel is pulled away too quickly.
A disciplined removal process starts by protecting painted edges and retaining all screws, clips and small covers in an organised manner. The panel should be released with appropriate trim tools rather than metal screwdrivers that mark soft plastics. Electrical connectors must be disconnected carefully, and any cable routing should be recorded before it is disturbed.
This is also the moment to inspect the vapour barrier. It should be resealed correctly if opened. Leaving gaps or using unsuitable tape can allow moisture into the cabin, contribute to fogging and undermine the newly restored panel from behind.
Materials and adhesives determine the finish
A clean-looking restoration depends on preparation, but the materials beneath the surface decide how long it remains clean-looking. Heat inside a parked car places serious strain on adhesives. General-purpose glue, excessive adhesive application or fitting material before the adhesive has flashed off can cause bubbling, bleed-through or edge lifting.
The chosen adhesive must suit both the substrate and the trim material. It needs to tolerate heat while providing enough open time to position the covering accurately. Adhesive should be applied evenly to the required surfaces, with care around perforations, seams and thin fabric where overspray may show through.
Foam condition matters too. Old foam often turns to powder, leaving an uneven surface and preventing the new covering from bonding consistently. Replacing it with foam of an appropriate thickness restores a more uniform feel without making the panel overly bulky. On stitched or shaped sections, the upholstery material must be formed carefully so it follows contours without tension lines.
Where a vehicle has leather door inserts, matching the existing seat leather may not be straightforward. Ageing changes colour and sheen. A specialist should assess whether the best result is a close match, a sympathetic re-trim of paired panels, or restoration of the original material where feasible. The answer depends on the vehicle’s condition and the owner’s priorities.
Rebuild the details that drivers touch every day
Armrests, pull handles and switch surrounds receive more wear than the rest of the panel. These areas should not be treated as an afterthought. A panel can have beautifully fitted new trim and still feel poor if the handle flexes, the switch surround rattles or the armrest padding has collapsed.
Before refitting, check mounting points, threaded inserts and plastic welds. Reinforcement may be needed where old plastic has cracked, but it must not interfere with fitment or create a hard point beneath the trim. Replace broken clips with the correct type where possible. Improvised fasteners may hold the panel temporarily, yet can create rattles, distort the panel or damage the door frame.
Speaker grilles and courtesy lights should also be tested before final assembly. A careful workshop checks door locks, window operation, mirror controls and speakers after refitting, rather than assuming that reconnecting a plug has resolved every function.
Common shortcuts that create repeat work
The fastest-looking repair is often the one that fails first. Spraying adhesive into a gap without removing the panel may hold a loose edge briefly, but it does not remove degraded foam or allow proper preparation. Covering over old trim can make edges too thick and prevent fittings from sitting flush. Using a random material because it is available can leave the cabin with a mismatched texture and colour.
There is a similar risk in treating every damaged panel as a do-it-yourself task. Simple clip replacement may be manageable for an experienced owner, but concealed fixings, delicate trim, airbag-related components and electrical connections require care. If there is uncertainty about the panel construction, professional removal is generally less costly than replacing a broken switch surround or an obsolete trim piece.
Choosing a restoration workshop
Ask how the workshop assesses the backing structure, whether the work is completed in-house, and what material options are being proposed. Clear advice should explain what can be retained, what needs rebuilding and where a repair may be a compromise. There should be no vague promise that every panel can be made perfect regardless of its underlying condition.
At 8 Cushion, door-panel work is approached as part of the vehicle interior, not as an isolated cosmetic patch. Material selection, controlled removal, proper preparation and disciplined refitting all contribute to a result that looks right and stays secure in daily use.
A well-restored door panel changes more than the view from the driver’s seat. It restores the reassuring feel of a cabin that has been cared for properly – each time you reach for the handle.
Related posts

Inside The Car Was Her Special Place
The little girl always loved going out, sitting in her father’s car as he drov
Vinyl Versus Canvas Convertible Tops
Vinyl versus canvas convertible tops - compare durability, noise, care, appearan
Car Seat Bolster Repair That Lasts
Car seat bolster repair restores comfort, support and appearance. Learn when rep