


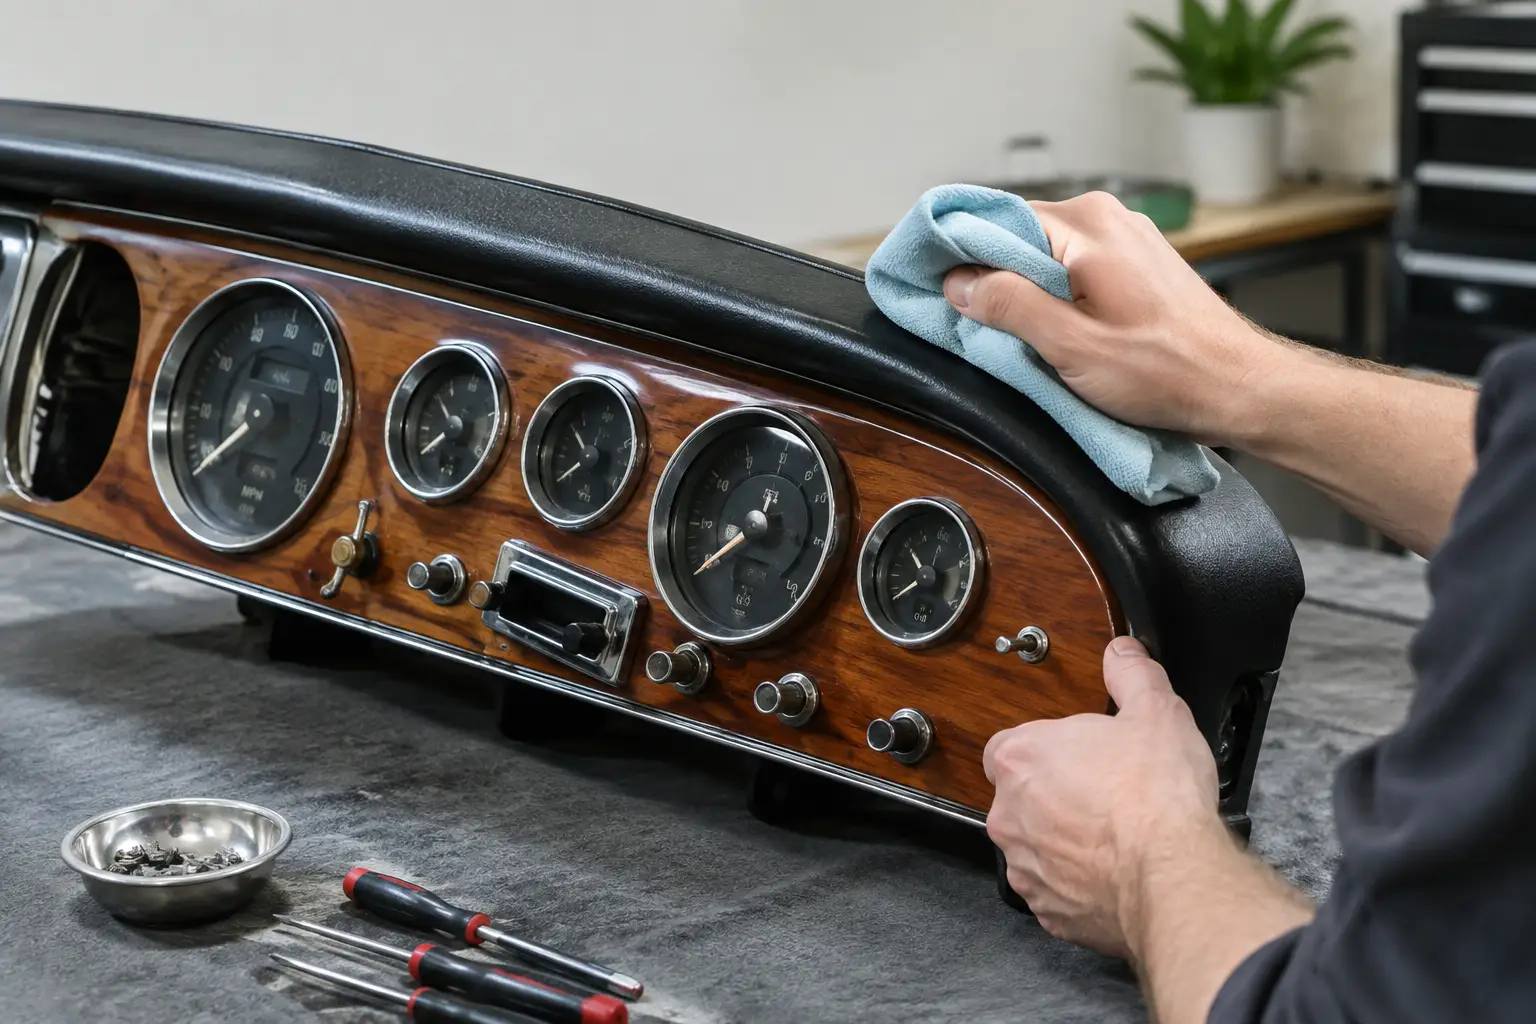
Vintage Dashboard Restoration Done Properly
A cracked dashboard can change the whole impression of a cherished classic. It sits directly in the driver’s line of sight, frames the instruments and often carries the design character that made the car special in the first place. Proper vintage dashboard restoration is therefore not a cosmetic shortcut. It is careful preservation work that must respect the car’s age, materials and original construction.
For owners of classic, premium and ageing vehicles, the goal is rarely to make every surface look factory-new at any cost. The better result is a dashboard that looks correct for the vehicle, feels solid in use and remains durable in Singapore’s heat and humidity.
Why dashboards deteriorate
Dashboards live under constant exposure to sunlight, heat and changing temperatures. UV rays dry out vinyl and plastics, while heat can cause adhesive failure, lifting edges and distortion. In a humid climate, moisture can also affect backing boards, foam layers, timber veneers and metal fittings behind the visible trim.
The signs are familiar: cracking along the top pad, fading around the windscreen line, warped panels, peeling veneer, broken vents, loose switches and brittle bezels. A dashboard may also have been altered by previous owners, with mismatched trim, poorly cut openings or unsuitable repair materials.
These problems are not all solved in the same way. A small crack in a vinyl pad may be repairable without full removal. A dashboard with extensive warping, failed foam or structural damage may need to be stripped, rebuilt and retrimmed. Independent advice matters because the right scope depends on the vehicle, the condition of the parts and the standard the owner expects.
Vintage dashboard restoration starts with a proper assessment
A serious restoration begins before any material is selected. The dashboard must be inspected as an assembly, not simply as a visible panel. That means checking the surface finish, underlying support, fasteners, wiring access, vents, instrument surrounds and the condition of adjoining trim.
It is also the point to discuss authenticity. Some owners want a faithful period-correct restoration for a collector vehicle. Others want a refined, durable finish that retains the original appearance while making sensible allowances for regular use. Neither approach is automatically better. The important thing is to agree the standard before the work begins.
Photographs alone can be useful for an initial conversation, but they do not always reveal loose backing, previous repairs or the way a material has aged. A workshop inspection allows the scope to be defined more accurately and avoids promising a surface-level repair when the issue runs deeper.
Repair, retrim or rebuild?
Repair is usually suitable when damage is localised and the dashboard remains stable. Minor splits, lifting edges or small areas of discolouration can sometimes be addressed while retaining much of the original material. This is often the most sympathetic option where original trim has value and enough sound material remains.
Retrimming is appropriate when the original covering has deteriorated beyond a dependable repair. The existing material is removed, the substrate is prepared and a suitable new covering is fitted. Success depends on more than matching colour. Grain, sheen, thickness, stretch and heat resistance all affect whether the finished dashboard looks correct.
Rebuilding becomes necessary when the frame, foam, backing board or mounting points have failed. This is more involved work, but it is often the only responsible route for a dashboard that has sagged, warped or become unsafe around vents and instruments. Covering a weak structure may improve its appearance briefly, but it does not create a lasting restoration.
Materials must suit the vehicle and the climate
Vintage dashboards can be finished in vinyl, leather, painted metal, timber veneer, moulded plastic or a combination of these materials. Each behaves differently, and each needs a compatible repair method.
Vinyl requires the right flexibility and grain pattern. A material that is too thick may sit awkwardly around curves and vents. One that is too thin can reveal imperfections beneath it or fail prematurely under heat. Where a dashboard has foam padding, the condition of that padding also affects the final result. New vinyl cannot hide failed foam for long.
Timber dashboards demand equally careful judgement. Veneer can lift through moisture exposure, fade unevenly or develop cracks in the lacquer. A good restoration preserves clean lines around gauges and switch apertures, while producing a finish that does not look overly glossy or artificial. The best sheen is determined by the vehicle’s era and original specification.
Painted metal and plastic components need preparation that respects their texture and fit. Colour matching is not simply a matter of choosing black, beige or brown. Aged interiors develop subtle changes in tone, and adjacent trims must be considered so the restored section does not look disconnected from the rest of the cabin.
The details that separate proper workmanship from a quick cover-up
Dashboard work is challenging because so much of it involves tight tolerances. A few millimetres of excess material can affect vent fitment, instrument bezels or glovebox operation. Poor adhesive selection can create bubbles or lifting when the cabin becomes hot. Incorrect trimming around the windscreen area can make refitting difficult and leave exposed edges.
Removal and refitting deserve the same care as the visible finish. Older clips, screws and plastic brackets are often brittle. Wiring may have been modified over decades, and access to certain parts can require careful removal of seats, centre consoles or windscreen-adjacent trims. Rushing this stage risks damage that was not present when the car entered the workshop.
At 8 Cushion, specialist restoration work is handled in-house so the assessment, production and fitting remain under direct workshop control. That accountability matters when a dashboard must integrate properly with roof linings, door trims, upholstery, windscreen surrounds and other interior components.
A disciplined process also allows workmanship to be checked at each stage. The substrate should be stable before it is covered. The material should be test-fitted before final bonding. Instruments, vents and trims should be refitted with consistent gaps and secure mounting. These are practical standards, but they are what give an interior the finished, original-looking quality owners expect.
Do not restore the dashboard in isolation
A dashboard is central to the cabin, which means a newly restored top pad can expose wear elsewhere. Faded door cards, a sagging roof lining, cracked pillar trims or worn seats may suddenly look more noticeable. This does not mean every interior needs a full restoration at once. It does mean the work should be planned with the overall cabin in mind.
A specialist can advise which areas should be completed together and which can wait. For example, dashboard removal may offer sensible access to windscreen surrounds, demister ducts or upper trim pieces. If a windscreen is already being replaced, it can also be the right time to address concealed dashboard edges or ageing seals. Combining related work can reduce repeat dismantling and help maintain a more consistent finish.
Budget should be discussed openly. There is a meaningful difference between stabilising an original dashboard, carrying out a high-quality retrim and recreating damaged components. A transparent quotation should make clear what is being repaired, replaced or refinished, rather than leaving the owner to discover additional work after dismantling.
Caring for a restored dashboard
Once restored, the dashboard still needs sensible protection. A shaded parking space or windscreen sunshade reduces UV exposure significantly. Regular gentle cleaning is preferable to strong household chemicals, which can leave glossy patches, dry out vinyl or damage coatings.
Avoid placing hard objects on the dashboard, particularly near the windscreen where heat is greatest. If the vehicle is stored for long periods, keep the cabin dry and ventilated where possible. Early attention to lifting edges, new cracks or loose fittings is usually simpler and more cost-effective than waiting for the damage to spread.
A well-restored dashboard does more than improve photographs or resale appeal. It makes every journey feel right from behind the wheel. Choose a repair approach that respects the vehicle’s construction, uses suitable materials and gives the work the time it deserves.
Related posts

Best Convertible Roof Cleaning Products Reviewed
Find the best convertible roof cleaning products for fabric and vinyl soft tops,

Convertible Roof Lifespan and What Affects It
Convertible roof lifespan depends on material, climate and care. Learn the warni
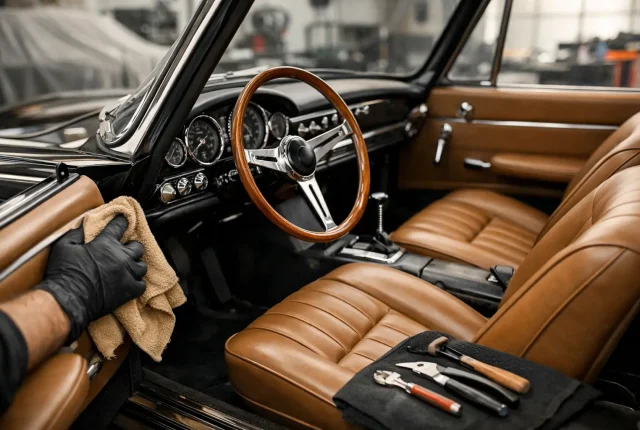
Classic Car Interior Restoration Guide
A classic car interior restoration guide covering trim, roof linings, seats, car