Car Roof Liner Repair Guide for Lasting Results
You usually notice a failing headlining at the worst moment – fabric drooping above the rear seats, glue marks near the grab handles, or a loose section brushing the top of your head in traffic. This car roof liner repair guide is written for owners who want a proper fix, not a short-lived patch. If the roof lining has started to sag, bubble or separate from its backing, the right repair depends on why it failed in the first place.
A roof liner is not just a cosmetic trim panel. It affects cabin appearance, perceived vehicle condition and day-to-day comfort. In ageing vehicles, especially premium cars and restoration-worthy models, a neglected headlining can make an otherwise well-kept interior feel tired. It can also point to heat exposure, moisture issues or previous poor-quality work.
What causes roof liners to fail
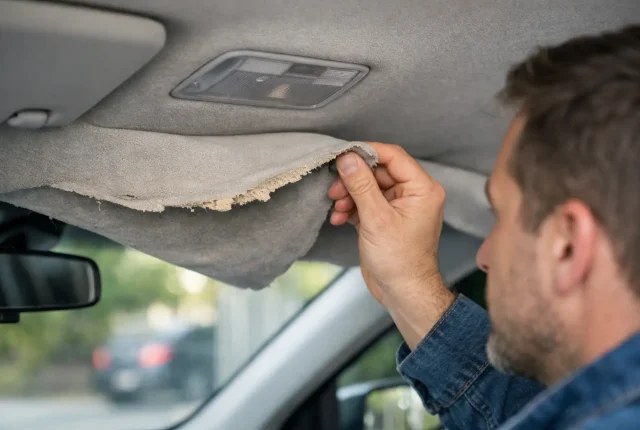
In most cases, the fabric itself is not the true problem. The usual failure point is the foam backing between the cloth and the board. Over time, heat and humidity break that foam down until it turns dusty and loses grip. Once that happens, the adhesive has nothing stable to hold on to, and the material begins to sag.
Singapore conditions are especially hard on interior trim. A car parked outdoors sees repeated heat build-up, and that constant cycle accelerates adhesive and foam deterioration. Older vehicles are more vulnerable, but age alone is not the only factor. Previous repair attempts using the wrong glue, poor storage of materials or rushed fitting can shorten the life of the new lining as well.
Moisture matters too. If there has been a windscreen leak, sunroof drainage issue or water ingress from old seals, the roof board may become warped or contaminated. In that case, simply sticking new fabric over the surface is not a disciplined repair. The substrate must be checked properly before any retrim work begins.
Car roof liner repair guide – repair or replacement?
This is where many owners are given oversimplified advice. Not every headlining problem calls for full replacement, but not every sag can be repaired cleanly either. The correct answer depends on the condition of the cloth, foam, backing board and surrounding trim.
If a section has only just started to release and the board remains sound, limited intervention may be possible in rare cases. That said, spot repairs are often temporary because the foam breakdown is rarely isolated to one small patch. If one area has failed, the rest of the lining is usually not far behind.
A full retrim is normally the proper route when the fabric is sagging across a broad area, the foam has perished, or the lining has already been tampered with. This means removing the board, stripping the old material completely, cleaning off degraded foam, checking the board for damage, then fitting fresh automotive headlining material with the correct adhesive method. That process takes more time, but it is what gives the result a fair chance of lasting.
Replacement rather than retrim may be necessary if the backing board is cracked beyond repair, heavily water-damaged or distorted. Some boards can be restored. Others cannot. This is why a workshop-led assessment matters more than a guess based on photos alone.
Why quick fixes often fail
There is a reason you see pins, staples and spray glue sold as easy answers. They are fast, visible and cheap. They are also rarely suitable for a proper interior finish.
Pins and screws may hold fabric up for a short while, but they damage the appearance and can distort the board. Household adhesives are another common problem. Many are not designed for the temperatures reached inside a parked car, so they soften, bleed through the cloth or fail again after a short period. Worse, once excess glue contaminates the material or board, later restoration becomes more difficult.
Even when a do-it-yourself attempt looks acceptable at first, hidden issues remain. Old foam left under the new adhesive continues to crumble. Uneven tension causes creases. Edges lift around lights, visors and trims. For owners who care about cabin finish and resale value, those compromises tend to become obvious very quickly.
Signs your headlining needs specialist attention
The obvious sign is sagging, but there are subtler indicators worth catching early. A roof liner that looks wavy, feels soft in patches, or shows staining around the windscreen edge should not be ignored. Loose trim around the sun visors or overhead lamp cluster can also indicate that the lining has started to separate.
If your vehicle has a sunroof, panoramic roof or complex upper trim layout, the risk of collateral damage during removal is higher. Clips, pillars, seals and electrical fittings all need careful handling. On prestige and older vehicles, replacement trim parts may be harder to source, which makes controlled workshop work even more important.
Owners of restoration projects should be especially cautious. Matching the correct texture, shade and fit matters. A roof lining that is technically secure but visually wrong can still lower the standard of the interior.
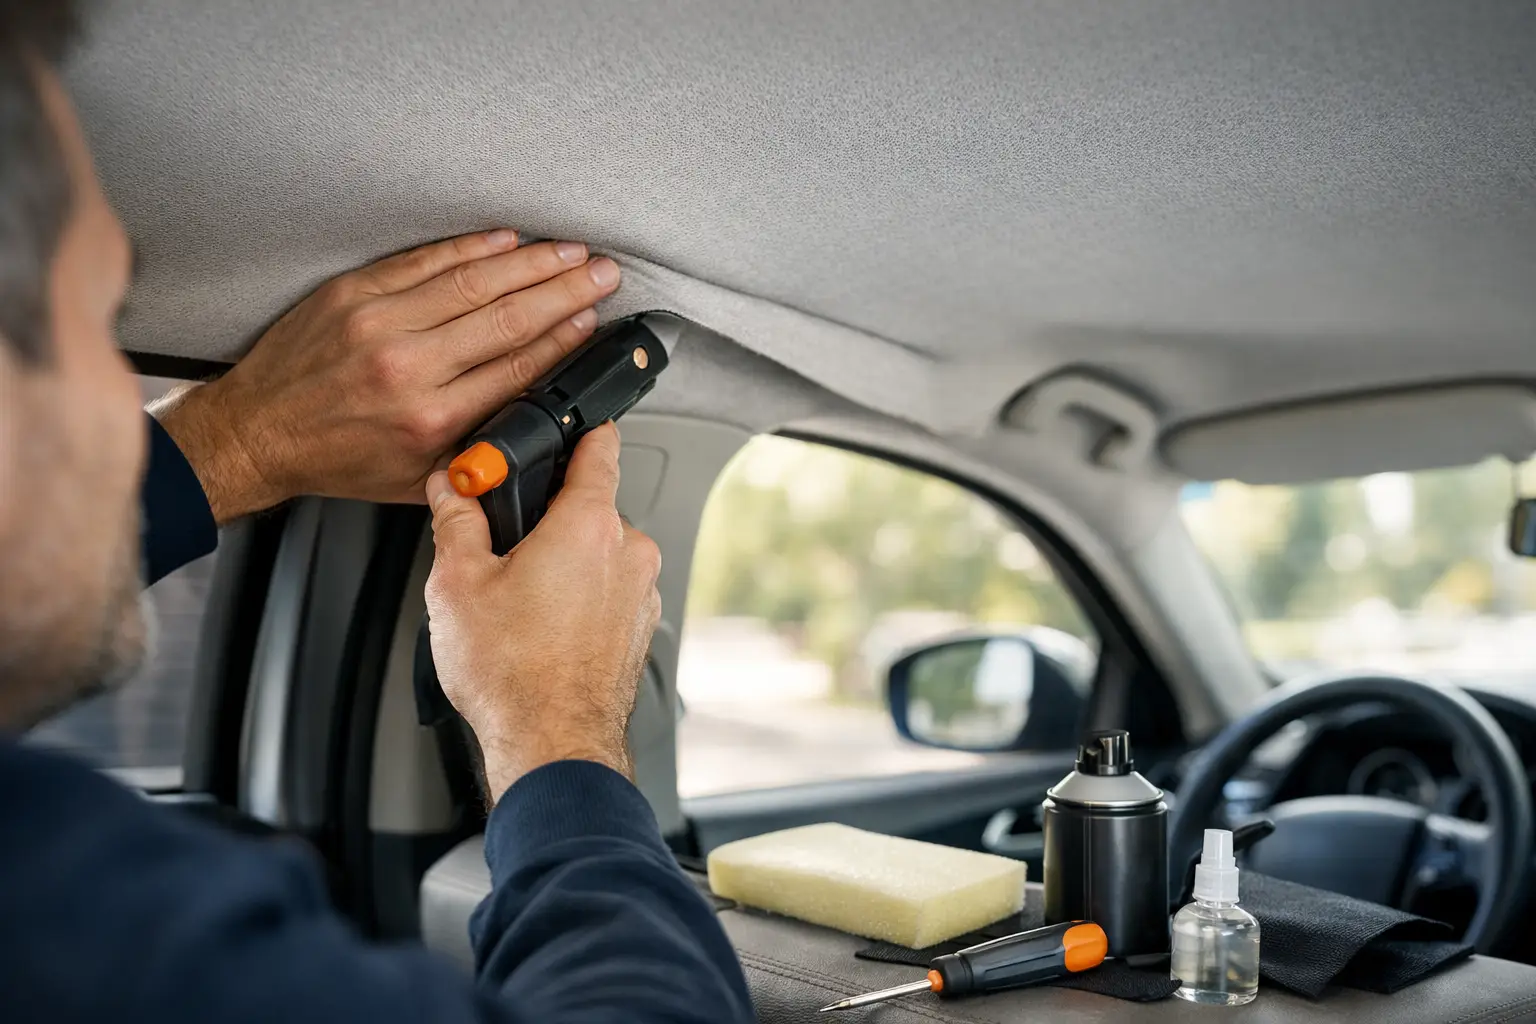
What a proper repair process should include
A reliable car roof liner repair guide should be honest about process. Good results come from disciplined preparation, not from one miracle adhesive.
The first step is careful removal of interior fittings and trim panels so the headlining board can come out without unnecessary stress. On some vehicles this is straightforward. On others, seats may need repositioning, upper trims need extra care, and the board must be manoeuvred out with precision to avoid cracking it.
Once removed, the old fabric and failed foam should be stripped off fully. The board then needs to be cleaned back to a stable surface. If this stage is rushed, the new adhesive bonds to residue rather than to the board itself, which leads to another failure cycle.
Material selection matters as well. Automotive headlining fabric is not interchangeable with generic upholstery cloth. The backing, thickness, stretch and heat tolerance all affect fit and longevity. The same goes for adhesive choice and application method. Too little bond is a problem, but too much glue or poor spraying technique can create staining and stiffness.
Refitting is the final test. The lining must sit correctly around lights, handles, visors, sensors and pillar trims. Clean edges and proper reassembly separate a specialist result from a rough retrim.
How long should a roof liner repair last?
It depends on vehicle use, storage conditions and the quality of the work. A properly retrimmed roof lining using suitable materials and controlled workshop methods should give meaningful service life. A bargain repair done with weak prep or unsuitable glue may start failing far sooner, especially in hot conditions.
This is why low headline pricing can be misleading. If the process skips board restoration, uses poor materials or relies on outsourced work with little quality control, the initial saving may disappear when the job needs doing again. For many owners, especially those keeping a car long term, value comes from doing it once and doing it properly.
Choosing the right workshop
Headlining work sits in a specialist category. It is trim work, material work and removal-and-refit work all at once. A general mechanical workshop may not have the in-house processes or interior handling discipline needed for a strong result.
Ask how the work is done, whether the lining is fully removed and retrimmed, and how material condition is assessed. Clear advice matters. So does accountability. A specialist workshop that handles the job in-house can control the process from inspection to final fitting, which reduces avoidable variation.
For owners who value craftsmanship and straightforward guidance, that level of control is often the difference between a repair that merely looks acceptable on collection day and one that continues to hold up under real use. At 8 Cushion, that workshop-first standard is central to how interior restoration work should be carried out.
A sagging roof liner rarely improves on its own. If you address it early, you usually have more repair options, cleaner results and a better chance of preserving the rest of the interior to the standard your vehicle deserves.
Related posts
How to Spot Roof Lining Delamination
Learn how to spot roof lining delamination early, from sagging fabric to hidden

The Common Misconception About Half Leather
Half Leather or Full Leather re-upholstery? One of the most common misconception
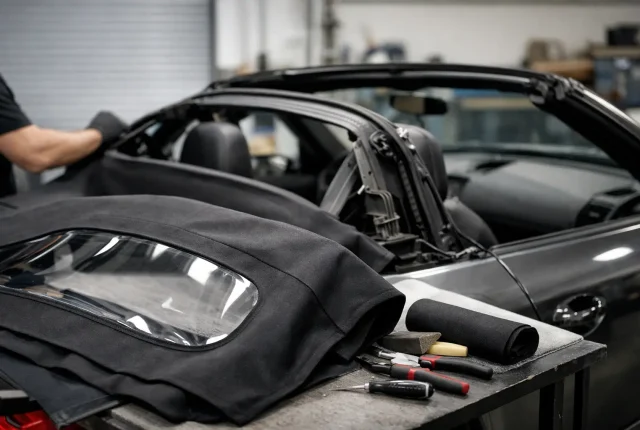
Convertible Top Replacement Buyer Guide
Our convertible top replacement buyer guide explains materials, fit, glass, labo